
Content Scroll Animation Element for Bricks
On this page
What It Does
With this element, you can create engaging content with scroll-based animations that activate as users scroll through the page. You can add a title, subtitle, and image, and apply smooth animation effects to make the content more interactive and visually appealing.
See it working on a live page before adding it to your own page:
Why It Matters
The Content Scroll Animation element is easy to customize and helps you highlight key information in a modern and attractive way as users move through your website, instead of every section appearing static and all at once.
What You Get
- A title, subtitle, and image block that animates in as the visitor scrolls to it
- A clickable content area with an optional link that can open in a new tab
- Full style controls to match your site’s design
Capabilities
- Title and subtitle text fields
- Image or SVG image selection, with a default placeholder image if none is chosen
- Configurable image size from the available WordPress image sizes
- Optional link URL with an Open in New Tab toggle
- Full Style tab controls for colors, spacing, and typography
Required Setup
- Bricks Builder installed & activated.
- You need to have the WDesignKit plugin installed and activated.
- Make sure you’ve created an account and logged into it.
- Make sure you’ve downloaded the Content Scroll Animation element.
How to Use It
How to Activate the Content Scroll Animation Element
- WDesignKit → Widgets → Browse Widgets.
- Search the element name and select Bricks as the Page Builder.
- Click on the Download icon.
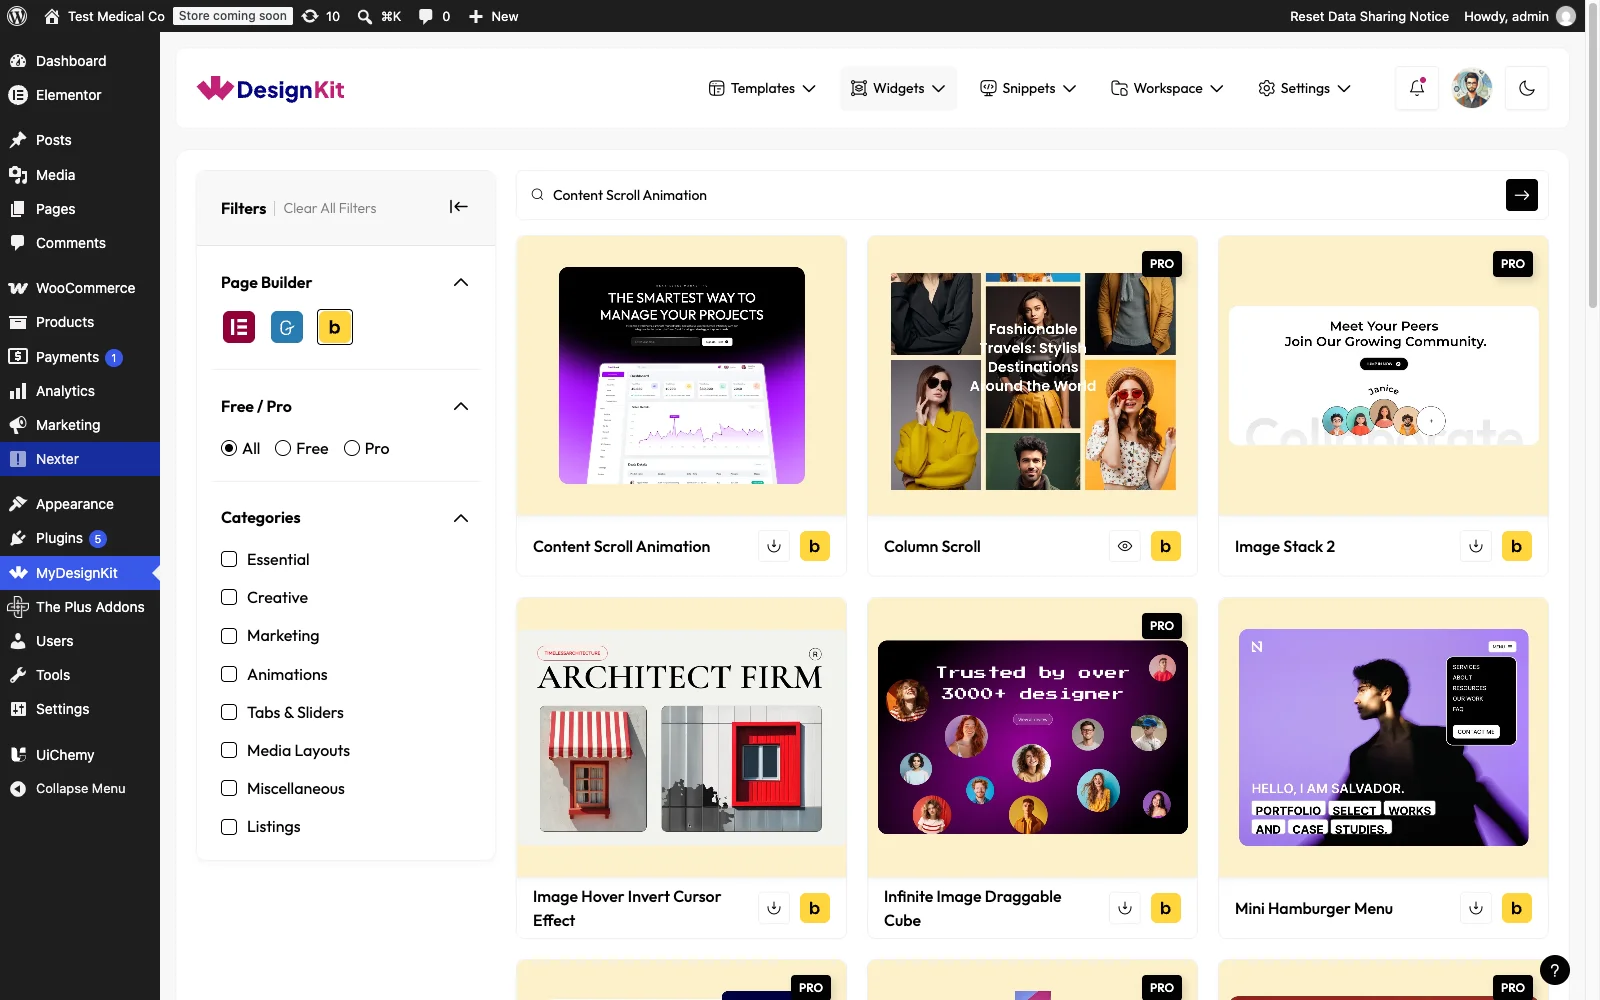
Using the Element in Bricks
Add the Content Scroll Animation element to the page.
Content
In the Title field, you can add the main heading text.
In the Subtitle field, you can add supporting or descriptive text below the title.
From the Select Image field, you can choose the image or SVG Image for content.
In the Image Size section, you can choose the image size for the gallery images from the available image sizes.
Note : If no image is selected, a placeholder image will be shown by default.
Extra Option
From the URL field, you can add a link that opens when the content is clicked.
By enabling the Open in new tab toggle, the attached URL will open in a new browser tab.
Then from the Style tab, you can further customize the style of the Content Scroll Animation.
Use Cases
Best For:
- Storytelling Sections: Reveal content step by step as users scroll, helping guide them through your message in a clear and engaging way.
- Feature Highlights: Showcase product features or services with animated titles, subtitles, and images to draw attention to key details.
- Landing Pages: Create dynamic sections that keep users engaged while scrolling through important content and calls to action.
- Portfolio Websites: Present projects, case studies, or creative work with smooth animations that enhance visual impact.
- About & Company Pages: Highlight company values, milestones, or team information using animated content blocks.
- Marketing & Promotional Content: Add motion to promotional sections to make campaigns more eye-catching and interactive.
Limitations
- Only available for Bricks in this version; a separate Elementor version exists as its own widget
- The animation only triggers once per scroll into view, it does not repeat if you scroll back up and down again
Troubleshooting
- The animation does not trigger on scroll. This is workflow-derived, not sourced from a specific support ticket: confirm the element is actually in the visible viewport area being scrolled, and check for a conflicting animation or scroll-effect plugin active on the same page.
- The placeholder image shows instead of the intended image. This is workflow-derived, not sourced from a specific support ticket: this means no image was actually selected in the Select Image field, or the previously selected media item was deleted from the library.