
Widget Builder vs Hand-Coding a Custom Elementor Widget: Time Comparison
Contents
- What Hand-Coding an Elementor Widget Actually Involves
- What Building the Same Widget in WDesignKit Widget Builder Involves
- Stage-by-Stage Time Comparison
- Where Hand-Coding Still Wins
- Controls, Styling and Reuse: Where the Builder Saves the Most Time
- Which Approach Fits Your Project
- Frequently Asked Questions
- Is the WDesignKit Widget Builder Free?
- Do I Need to Know PHP to Build an Elementor Widget With WDesignKit?
- How Long Does It Take to Build a Widget With Each Approach?
- Can I Use the Same Widget in Bricks or Gutenberg?
- Can I Turn a CodePen Snippet Into an Elementor Widget?
- Author
Key Takeaways
- Elementor developer docs list 14 methods for a custom widget class, including register_controls(), render() and content_template().
- WDesignKit Widget Builder opens with three panels, a Code Editor with HTML, CSS and JavaScript tabs, a Layout panel and a Controller panel.
- WDesignKit docs say the Create Widget popup asks for four items: builder, widget name, optional featured image and an icon from E-icons or Font Awesome.
- The builder lists 30-plus controls, including Text, Repeater, Media, Gallery, Typography, Border, Background and Box Shadow.
- Reuse in WDesignKit includes duplicate, export as ZIP, download as a standalone WordPress plugin and push to the cloud workspace or public library.
A custom Elementor widget has two routes. You can write the PHP class yourself, or you can paste your HTML, CSS and JavaScript into a visual builder and let it wire up the fields. Both routes end in the same place: a widget that sits in Elementor’s panel and gives editors fields they can change without touching code. They differ in what you do to get there, and that difference is where your hours go.
This post compares the two routes stage by stage: setup, structure, controls, styling, output and reuse. It draws on Elementor’s developer documentation for the hand-coded side and the WDesignKit documentation for the builder side. It counts steps and files instead of quoting minutes, because a table of invented timings would not survive a reader trying it.
What Hand-Coding an Elementor Widget Actually Involves
According to Elementor’s developer documentation, a custom widget is a PHP class that extends \Elementor\Widget_Base. Every widget needs a unique name, a title and an icon. Beyond those basics sit the controls, which are the fields editors fill in, and a render method that builds the final output from whatever the editor entered.
The skeleton class in the docs lists 14 methods. Three cover identity (name, title, icon). A few more cover discovery, such as categories, keywords and a help URL. Others declare script and style dependencies, and two tell Elementor how to handle the widget’s wrapper markup and caching. The last group does the real work: register_controls() for the fields, render() for the front-end output and content_template() for the editor preview.
The docs’ own “Simple Example” shows the smallest working setup. It is a two-file plugin. The main file carries a plugin header (including Requires Plugins: elementor) and one function hooked to elementor/widgets/register, which loads the widget file and registers the class. The second file holds the widget class itself. For a widget with a single URL field that embeds content through WordPress’s oEmbed function, the two files run to roughly 210 lines including comments.
That widget has a single field, so it is the smallest case. The widgets section of the developer docs runs to more than 20 pages, covering widget dependencies, rendering repeaters, inline editing, DOM optimization and output caching. You rarely need all of them for a first widget. You find out which ones you need by running into them.
One developer posting on r/Wordpress in May 2026 described building a nested widget where each repeater item works as its own drop zone. Their summary of the trouble: “The easiest thing to miss was the editor JavaScript registration.” Read the thread on Reddit. That is an advanced case, not the average widget, but it shows where the time goes: working out which structure Elementor expects, then finding the one registration step the PHP alone does not cover.
A second poster on r/elementor, in December 2025, was stuck on a different piece: wiring click and drag behaviors on a custom widget inside the editor panel. They had read the developer docs and the hook references and still could not find the right approach.
What Building the Same Widget in WDesignKit Widget Builder Involves
The WDesignKit documentation describes the route as creating a custom Elementor widget with the free Widget Builder. You need Elementor’s free plugin and the WDesignKit plugin active. From there, the path is WDesignKit, then Widgets, then My Widgets, then the Create Widget button.
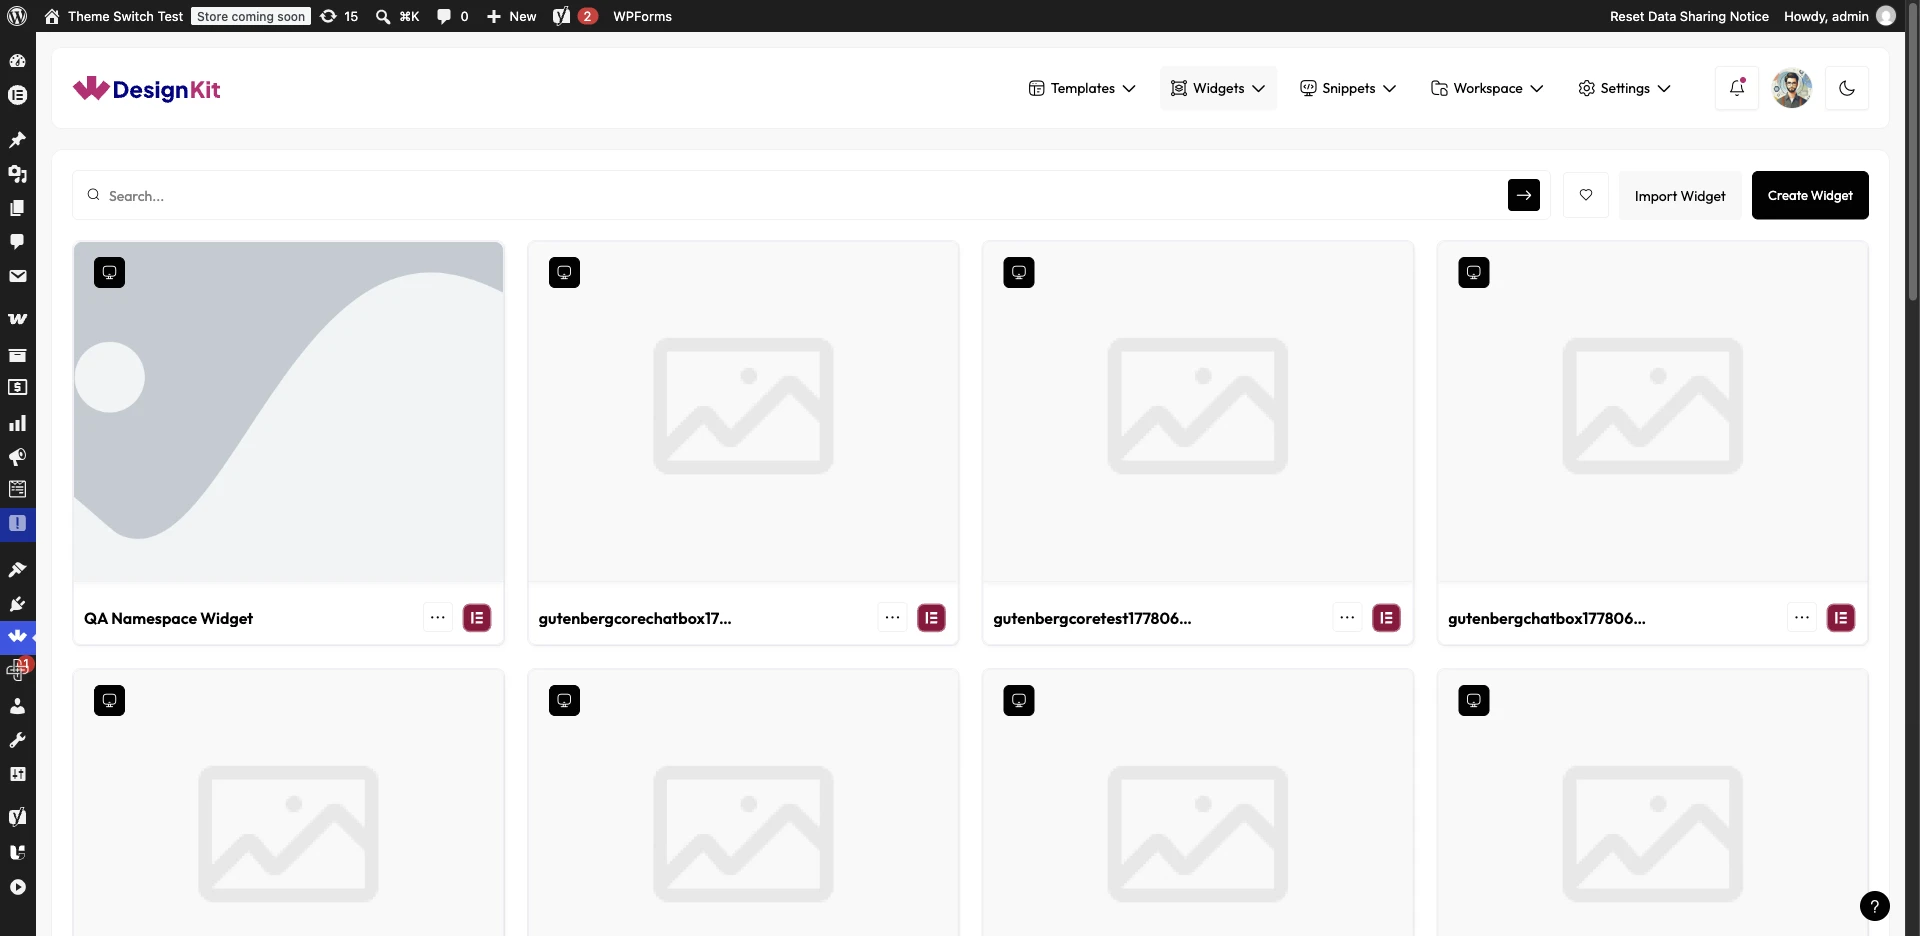
A popup asks for four things: the page builder (Elementor, Nexter Gutenberg or Bricks), a widget name, an optional featured image for the widget listing, and an icon from the E-icons or Font Awesome libraries. Click Create Widget and the editor opens with three panels: a Code Editor with HTML, CSS and JavaScript tabs, a Layout panel, and a Controller panel.
Controls work by drag and drop. Drag a control from the Controller panel into the Layout panel, and its unique name appears in the sidebar of the HTML tab. Place your cursor where the value should go in your markup, click the name, and the placeholder is inserted. The step-by-step guide to creating a custom Elementor widget walks through the full flow with screenshots.
The docs’ worked example converts a CodePen profile-card layout. Paste the HTML into the HTML tab, leaving out the doctype, html, head and body tags. Paste the CSS into the CSS tab, leaving out global selectors such as body or *. Add any JavaScript to the JS tab. Then attach a Media control to the profile image, Text controls to the title, subtitle and button label, and a URL control to the button link. Save, and the widget shows up in Elementor’s own panel, searchable and draggable like any native widget.
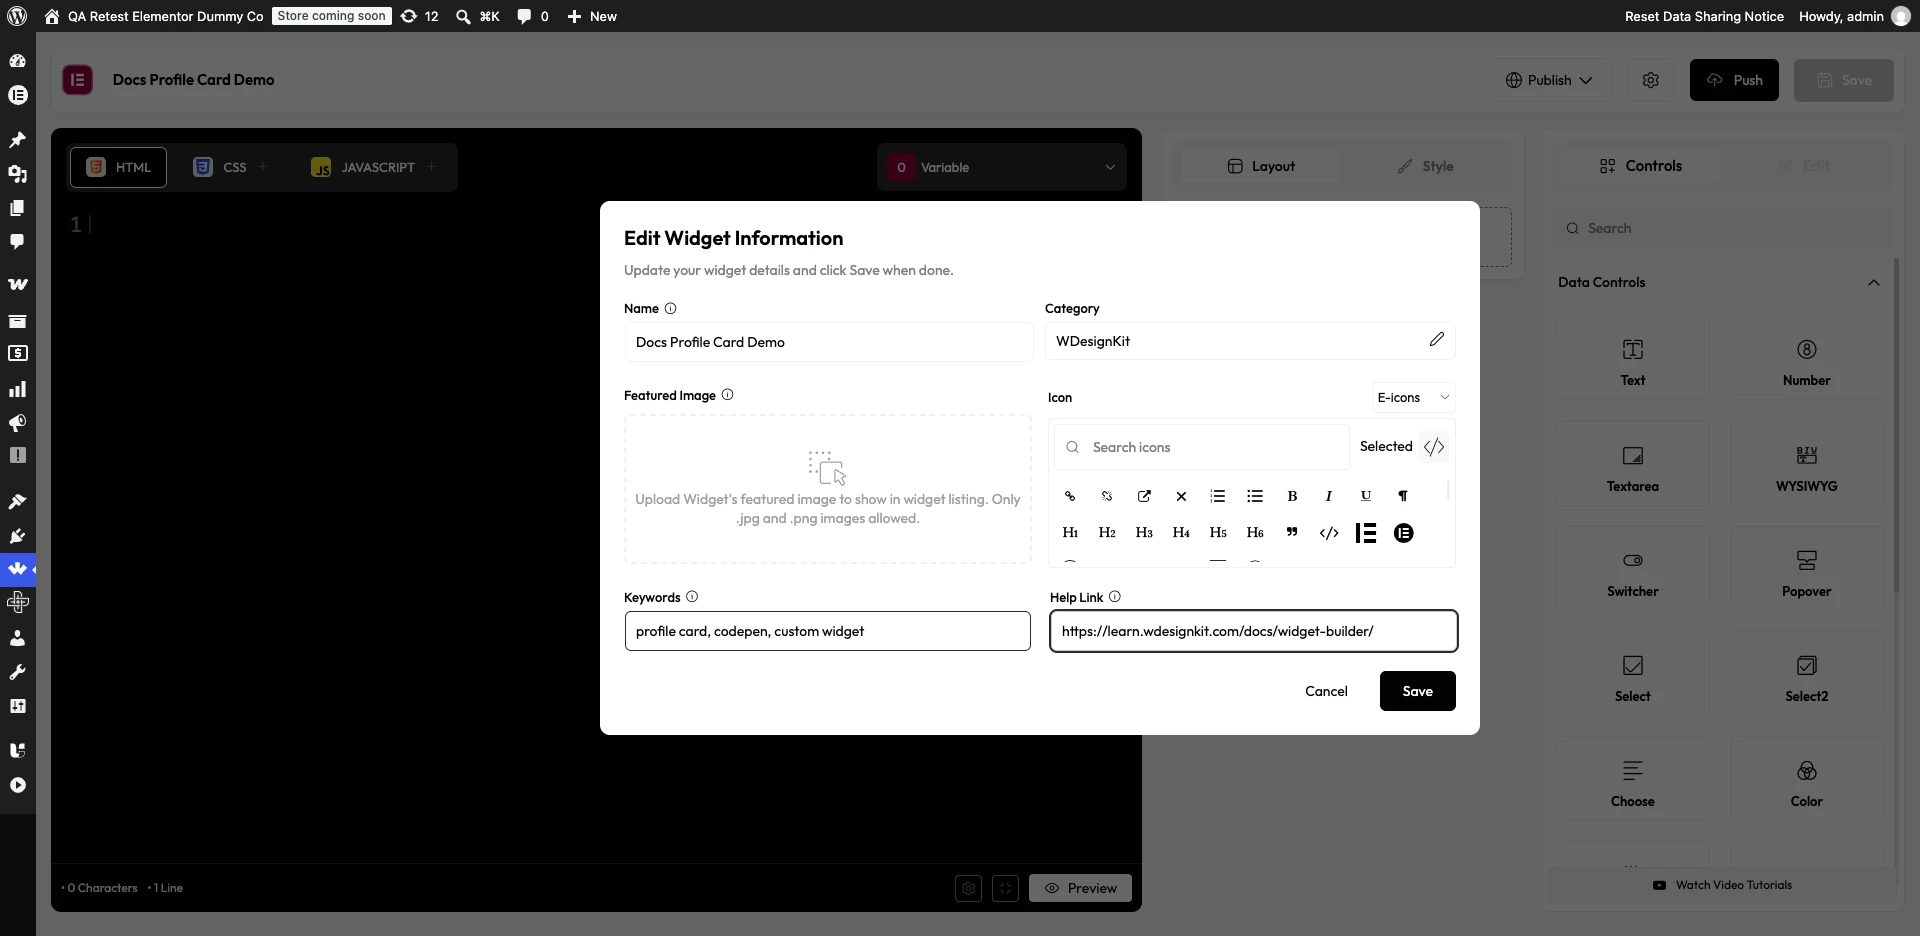
Two housekeeping steps sit outside the code. The Settings icon lets you set the widget’s category, search keywords and a help link. A live preview lets you check the result before you use it on a page.
Also Read: The introduction to the WDesignKit Widget Builder covers why it was built and how the same builder handles Elementor, Gutenberg and Bricks.
Stage-by-Stage Time Comparison
The table below lines up the two routes using only what each side’s documentation describes. Nothing in it is a stopwatch reading. Read it as a map of the work at each stage, then time your own build against it.
| Stage | Hand-coding (Elementor developer docs) | WDesignKit Widget Builder (WDesignKit docs) |
|---|---|---|
| Setup | Create a plugin folder and main file with a plugin header, then hook a register function to elementor/widgets/register | Install Elementor free and WDesignKit, then open WDesignKit, Widgets, My Widgets |
| Identity | Write get_name, get_title, get_icon, plus categories and keywords methods | Fill in the Create Widget popup: builder, name, optional image, icon |
| Fields | Write register_controls() with a section and one add_control call per field | Drag controls from the Controller panel and click their names to insert them into the HTML |
| Output | Write render() in PHP, read values with get_settings_for_display() and escape them yourself | Write or paste HTML, CSS and JS into three tabs and check the live preview |
| Styling | Register style controls and declare CSS and JS handles through the dependency methods | Use style group controls (Typography, Border, Background, Box Shadow) tied to selectors |
| Reuse | Copy or package the plugin folder | Save to the cloud, duplicate, push to the library, or download as a WordPress plugin |
Where should you expect the gap? Mostly at the fields and reuse rows. In hand-coded form, every field is a PHP call with an options array, and every extra field is another block to write and test. In the builder, a field is a tile you drag. The setup and identity rows are closer, since both routes ask for a name, a title and an icon.
Published timing data is scarce. One WordPress.org reviewer reported a bare-bones calculator in under 30 minutes by copying examples from WDesignKit’s library, then asked the support team for help matching the formatting to their site. That is one person’s account of one widget, not a benchmark. The reliable method is to time yourself. Pick one layout, such as the profile card from the docs, and clock five stages separately: setup, identity, fields, styling and preview. Run it once each way and you have a number that fits your skills and your project.
Keep the comparison fair. If you already keep a widget plugin boilerplate, the hand-coded setup and identity rows shrink to a copy and a rename. If you have never opened Elementor’s widget API, the fields row is where the builder’s advantage is largest, because you skip learning the control array syntax before you can ship anything.
Where Hand-Coding Still Wins
A fair comparison names the cases where the builder is the wrong tool. WDesignKit’s own documentation is direct about the first one: the builder wires your code into Elementor, it does not generate layout code for you. It expects basic HTML and CSS comfort. If you need the markup written from scratch, the builder gives you a home for it, not the writing.
Nested structures are the second case. The r/Wordpress developer above built a widget where each repeater item is its own drag-and-drop area, using Elementor’s nested elements base class and a small editor-side JavaScript file. The control list in the WDesignKit docs (text, number, repeater, media, gallery, select and the style groups) does not include a nested-container control, so a widget of that kind is hand-coding territory.
The third case is behavior inside the editor itself. Custom click or drag handling in Elementor’s editor panel is JavaScript that hooks into the editor’s own event channels. That sits below the layer a control-based builder works at.
The fourth is distribution as a product. If you are shipping a paid add-on with its own licensing and update server, you want to own the plugin codebase from the first commit. A builder is a poor fit for that job, even if it can package a single widget as a plugin.
For everything else, the fit is good. Cards, banners, pricing tables, calculators and call-to-action blocks are layouts with editable text, images, colors and links, which is what the builder’s controls are built around.
Controls, Styling and Reuse: Where the Builder Saves the Most Time
The WDesignKit documentation lists 30-plus controls in four groups. Data controls include Text, Textarea, WYSIWYG, Number, Slider, Dimension, Select, Select2, Choose, Color, Media, Gallery, Repeater, Code, Switcher, Popover and Hidden. Dynamic controls include Post Listing, Product Listing, Select Template and Taxonomy. Style group controls include Typography, Border, Background, Box Shadow, Text Shadow, CSS Filter and NormalHover for hover states. UI-only controls such as Heading, Divider, RawHTML and Preview organize the panel itself.
Styling ties to selectors. A style control points at a CSS selector in your markup, so an editor changing a color or a border width in the panel is changing your own CSS. The docs also cover making a widget’s CSS and JavaScript unique to that widget, and showing or hiding controls with display conditions. Each of those is a topic you would otherwise design and code by hand in the PHP route.
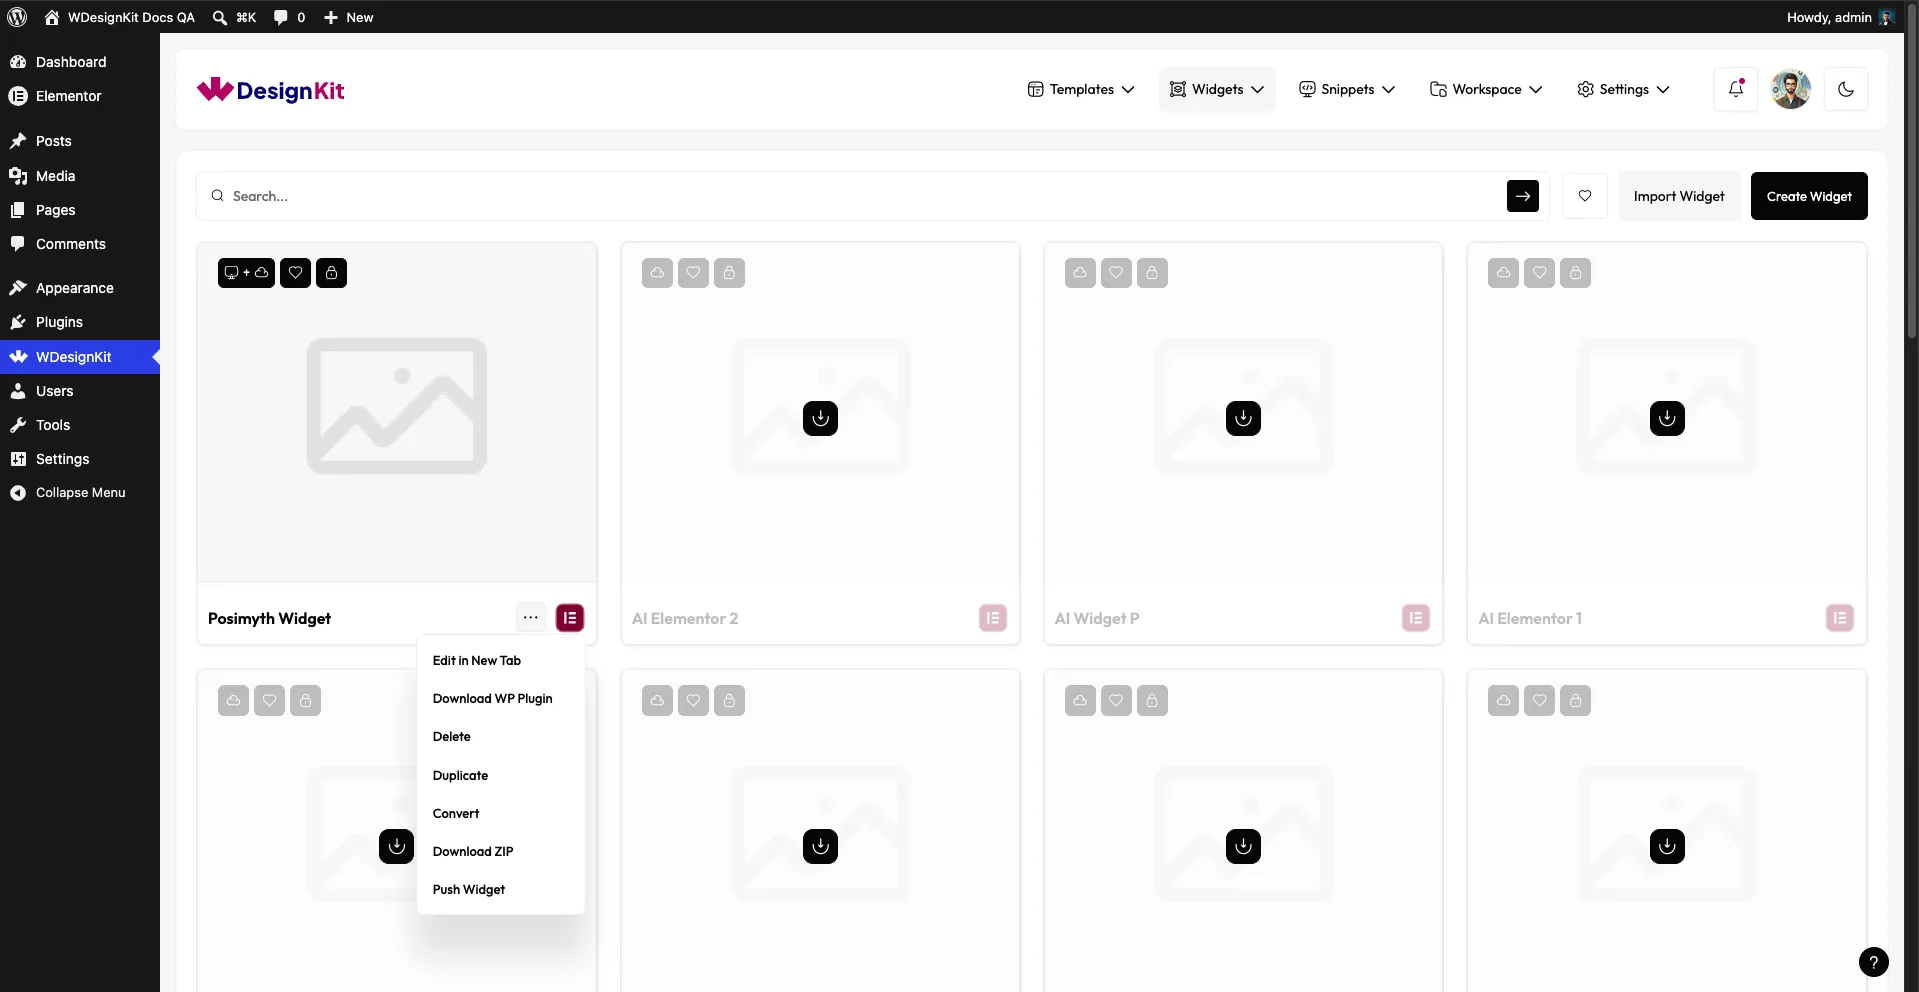
Reuse is the other big difference. A finished widget can be duplicated, exported as a ZIP, downloaded as a standalone WordPress plugin, or pushed to your cloud workspace and the public library. There is built-in version history too, so you can see what changed and when on a client site. One rule to know: you can only push widgets you created yourself, so duplicate a widget first if you want to publish your own variant of someone else’s.
In the hand-coded route, the same reuse story is possible, but it is yours to build: a shared plugin, a Git repository, a release process. That is fine for a team that already runs one. For a freelancer or a small agency that just wants the same testimonial card on the next five sites, it is overhead.
Also Read: The Elementor widget builder page shows the full control list and how the builder handles HTML, CSS, JS and PHP.
Which Approach Fits Your Project
Use these checks to decide.
Choose the Widget Builder when:
- The layout already exists as HTML and CSS, from a CodePen, a client mockup or an older project.
- Editors need to change text, images, colors and links without touching code.
- You want the same component on several sites without maintaining a plugin repository.
- You are comfortable in HTML and CSS but have not learned Elementor’s widget API.
Choose hand-coding when:
- The widget uses nested containers or custom behavior inside the Elementor editor.
- You are shipping a commercial add-on with its own licensing and updates.
- You already run a shared PHP architecture across many widgets and want this one to follow it.
You can also use both. The builder can cover everyday components, and hand-written PHP can cover the few widgets that need editor-level behavior. If you are not sure which side a widget falls on, build it in the builder first. The docs’ profile-card walkthrough is a low-cost way to find out how much of your work fits.
Frequently Asked Questions
Is the WDesignKit Widget Builder Free?
WDesignKit’s documentation describes creating a custom Elementor widget with the free Widget Builder. It requires Elementor’s free plugin and the WDesignKit plugin to be active. Check the WDesignKit pricing page for what the paid plans add.
Do I Need to Know PHP to Build an Elementor Widget With WDesignKit?
The documented workflow uses HTML, CSS and JavaScript, and the docs note that basic HTML and CSS comfort is expected. The product page also lists PHP, Twig and WordPress hooks for dynamic, logic-driven widgets, so PHP is available when you want it but is not part of the basic flow.
How Long Does It Take to Build a Widget With Each Approach?
It depends on the widget and on your experience, and no controlled benchmark exists to quote. Elementor’s own simple example is two files and about 210 lines for a single URL field. The builder’s worked example is paste, map controls and save. One WordPress.org reviewer reported a bare-bones calculator in under 30 minutes. The most useful number is your own, so time the five stages from the comparison above on one small layout.
Can I Use the Same Widget in Bricks or Gutenberg?
You choose the target builder when you create the widget, and the same three-panel process applies to Elementor, Nexter Gutenberg and Bricks. The documentation does not describe converting a finished widget from one builder to another. Its cross-builder use case is to rebuild the same control logic for the other builder.
Can I Turn a CodePen Snippet Into an Elementor Widget?
Yes, that is the documented worked example. Paste the HTML without the doctype, html, head and body tags, paste the CSS without global selectors like body or *, add any JavaScript, and attach controls to the parts editors should change.
Author

Sagar is the Founder & CEO of POSIMYTH Innovations, with 10+ years building WordPress products trusted by 100,000+ websites globally. He has led the development of The Plus Addons for Elementor, Nexter, WDesignKit, and UiChemy, all built hands-on from concept to launch. His work focuses on making website building faster, more flexible, and accessible for creators and businesses worldwide.
Keep reading
Interior Design Website Templates: 5 WordPress Kits Compared
Interior design website template picks from WDesignKit: two free PlanPro kits and three Pro Space-Creators kits, compared by portfolio, process and page count.
12 min read
Construction Website Templates: 3 WordPress Kits Compared
Construction website template options from WDesignKit: BuildIQ Elevate, BuildIQ Nexus and Skyframe, compared by real page counts and the contractors each suits.
12 min read
Free vs Pro in WDesignKit: What You Get at Each Tier
Real numbers on WDesignKit’s free and Pro plans: exact template, widget, and active-website counts, so you know what upgrading actually unlocks today.
12 min read