On this page
- What the WDesignKit AI Widget Builder Does
- What it builds for each page builder
- What You Need Before You Start
- How to Build a Widget With AI, Step by Step
- Step 1: Open your AI tool
- Step 2: Describe the widget
- Step 3: WDesignKit creates the widget
- Step 4: Find it in your page builder
- What Your Prompt Can Control
- Prompts that give a usable first version
- After the First Version: Update, Duplicate and Reuse
- AI Widget Builder or the Visual Widget Builder?
- Before an AI-Built Widget Goes Live
- Start With One Small Widget
Page builders give you a lot of widgets, but sooner or later a project needs one that does not exist: a testimonial card with a star rating, a stats row that counts up, a pricing toggle that matches the brand. You can build it by hand, hire a developer, or install another add-on and hope it fits.
WDesignKit’s AI widget builder adds a fourth option. You describe the widget in plain language in the AI tool you already use, and WDesignKit creates a real, editable widget for Elementor, Gutenberg or Bricks on your WordPress site. This guide covers what it builds, what you need, how a widget goes from prompt to page, and how to check it before it goes live.
What the WDesignKit AI Widget Builder Does
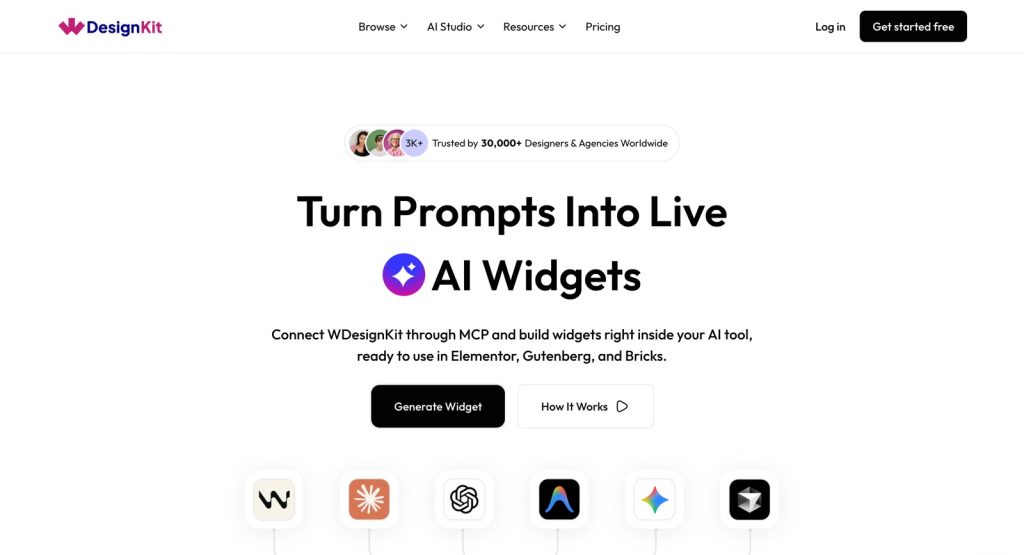
The AI widget builder page on wdesignkit.com sums it up as “Turn Prompts Into Live AI Widgets”. The AI part happens in your assistant, such as Claude, ChatGPT or Cursor. WDesignKit supplies the actions that turn your request into widget files on your site.
The result is not a block of code to paste somewhere. According to the WDesignKit documentation, WDesignKit generates the widget’s PHP, CSS and JS files along with its control panel configuration, then saves the widget to your library, where it works like any other widget.
What it builds for each page builder
| Builder | What the AI widget builder creates |
|---|---|
| Elementor | Full Elementor widgets with editable controls |
| Gutenberg | Native core blocks and Nexter blocks from a single prompt |
| Bricks | Custom Bricks elements, built without leaving your AI assistant |
What You Need Before You Start
The WDesignKit documentation lists these requirements:
| Requirement | What it means |
|---|---|
| WDesignKit | Installed and activated on the site where the widget will live |
| WordPress MCP | Installed, activated and connected to your AI tool |
| AI tool | Claude, ChatGPT, Cursor, VS Code, Windsurf or another tool connected through WordPress MCP |
| Administrator access | “Widget-building actions require admin-level access” |
Once your AI tool is connected, there is no separate setup for the widget builder. The documentation describes MCP as the link that lets the AI create, edit and manage WDesignKit widgets from plain-language requests.
How to Build a Widget With AI, Step by Step
Step 1: Open your AI tool
Start a chat with your site in the AI tool you connected, for example Claude or Cursor.
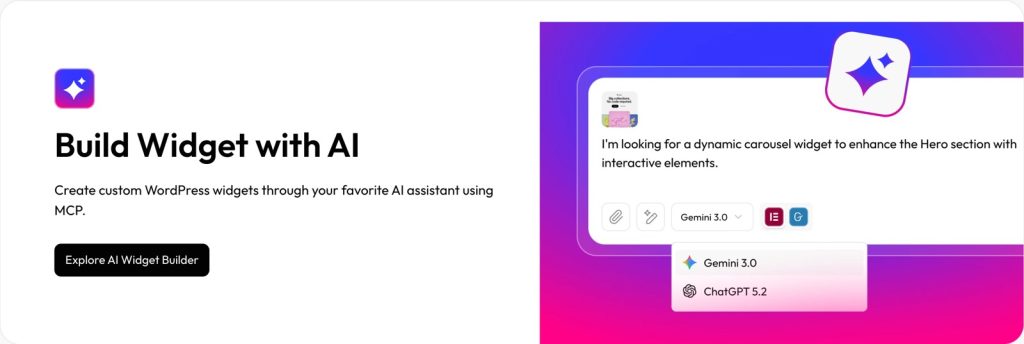
Step 2: Describe the widget
Say what you want in plain language and name the builder. The WDesignKit documentation gives this example:
“Create an Elementor widget called ‘Testimonial Card’ with a name field, a quote field, and a star rating.”
Depending on your request, the assistant may ask follow-up questions first, such as which builder to target or which fields the widget needs.
Step 3: WDesignKit creates the widget
The assistant passes the details to WDesignKit, which generates the PHP, CSS and JS files and the control panel configuration, and saves the widget to your library.
Step 4: Find it in your page builder
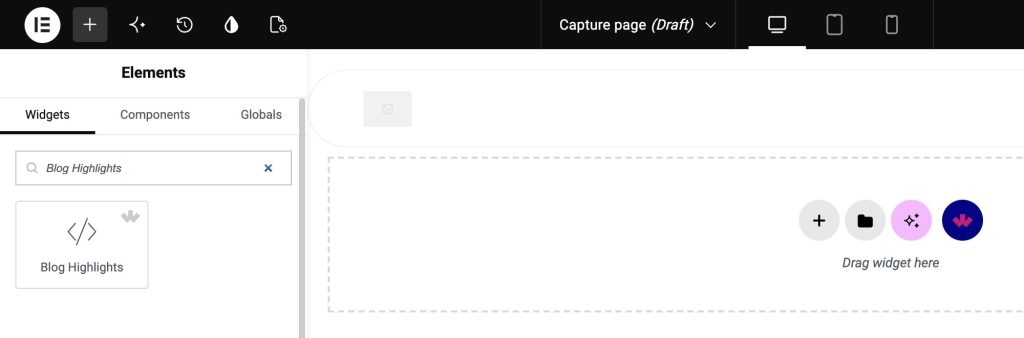
Open your page builder, search for the widget by name and drag it onto the page. The widget also appears in My Widgets in WDesignKit. In Elementor, WDesignKit widgets show a small WDesignKit badge in the widget panel.
What Your Prompt Can Control
The documentation lists the fields the AI can set when it creates a widget. Only two are required.
| Field | Required | What it controls |
|---|---|---|
| Name | Yes | Display name. Letters, numbers, spaces, hyphens and underscores, up to 64 characters |
| Builder | Yes | Elementor, Gutenberg, Gutenberg Core or Bricks |
| Description | No | Shown in the configuration; generated from the name if left out |
| Category | No | Must match an existing category; defaults to “WDesignKit” |
| Icon | No | Defaults to a generic code icon |
| Keywords | No | Search terms for finding the widget |
| PHP, CSS and JS code | No | Your own code for any file; files you leave out are generated |
| CDN links | No | External JS or CSS the widget depends on |
| Version | No | Defaults to 1.0.0 |
Prompts that give a usable first version
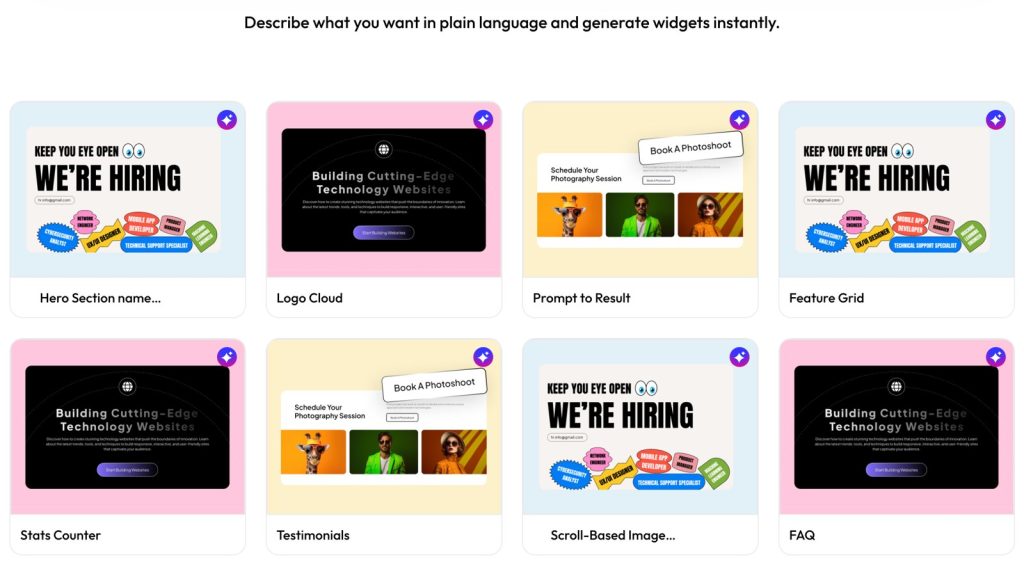
The AI widget builder page shows sample widgets you can ask for: a hero section, a logo cloud, a feature grid, a stats counter, testimonials, a scroll-based image reveal and an FAQ accordion.
What good prompts have in common:
- Name the builder and the widget. “A Bricks element called Pricing Toggle” leaves less to guess than “a pricing thing”.
- List the fields. Say which parts should be editable: heading, text, image, link, rating.
- Describe layout and behaviour. Columns, hover effects, animation on scroll.
- Start small. One clear widget first, then ask for changes.
After the First Version: Update, Duplicate and Reuse
A generated widget is a starting point. The WDesignKit documentation lists what your assistant can do with it afterwards:
- Update fields, styles or behaviour.
- Duplicate it to try changes without touching the original.
- Preview it.
- Push it to your WDesignKit cloud account.
- Export it as a portable file, or package it as a standalone WordPress plugin.
AI Widget Builder or the Visual Widget Builder?
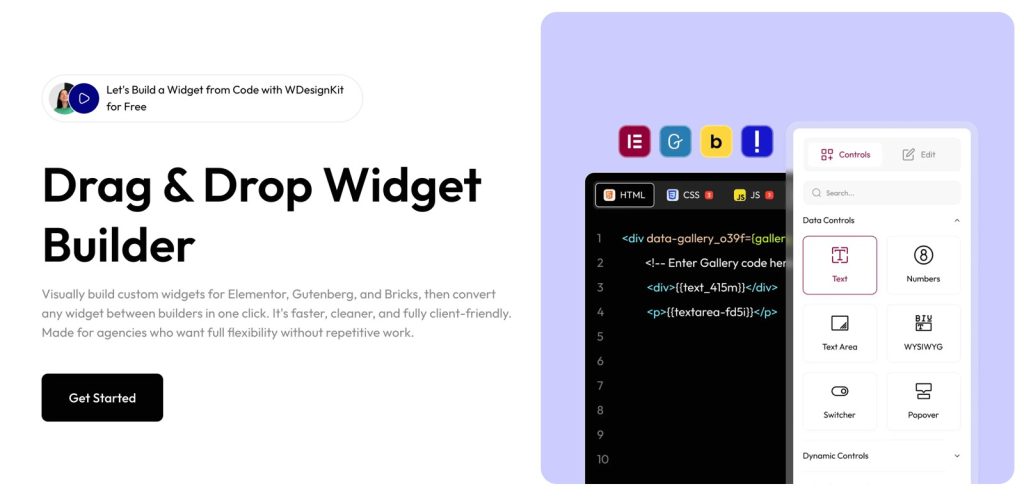
WDesignKit gives you two ways to make a custom widget, and you can use both.
| AI widget builder | Visual Widget Builder | |
|---|---|---|
| Where you work | Your AI tool | The WDesignKit builder inside WordPress |
| How you describe it | A plain-language prompt | Drag-and-drop controls with HTML, CSS and JS |
| Best for | A fast first version, or a widget you can describe clearly | Fine control over every control and line of code |
Before an AI-Built Widget Goes Live
An AI assistant with admin access can make real changes to your site, which is the point, and also why a short routine helps:
- Build on a staging site first. The connection needs an administrator account, so keep experiments away from client sites until the widget is ready.
- Preview on desktop, tablet and mobile.
- Read the generated code if the widget handles links, forms or user input.
- Test the controls. Change each field in the builder and check the result.
Start With One Small Widget
The quickest way to judge the AI widget builder is to build something you would otherwise make by hand this week: a team card, a pricing toggle, a stats row. Connect your AI tool on a test site, describe the widget with its fields and layout, find it in your page builder, and check it before you use it on a client page.
Have a widget idea or a question? Join the WDesignKit community in the WDesignKit Facebook group.
Share this article